1.3 Texture mapping
- entire object
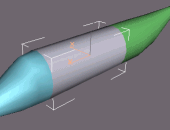
Select the part, you
just assigned with the texture.
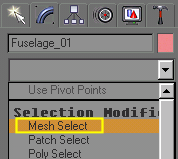
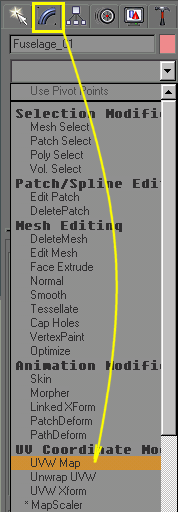
Select "Modify"
tab on Command panel and then select "UVW Map" from "Modifier
list"
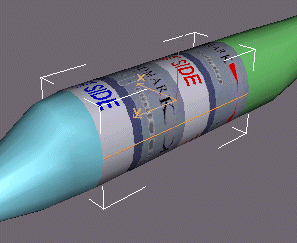
Now you finally see your
texture on your part, but it is not positioned right.
Don't vorry, We could
modify it by editing UVW Mapping parameters.
 If you look at "Parameters"
rollout, you can see, that there is "Planar" mapping checked.
It seems appropriate for
our fuselage, so leave it as is ( you can try to select another methods, and
you'll see what will happen )
Look a bit below for
"Alignment" ( you can drag the rollout using your mouse, if you don't
see it ) and try to select one of check boxes x, y, z.
For our fuselage example
"X" is suitable
Then select "Fit"
button below. Now you can see your texture stretched to part's borders.
|
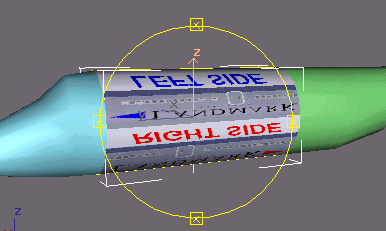
You probably see, that
your texture is rotated about 90 degrees.
We will fix it by modifying
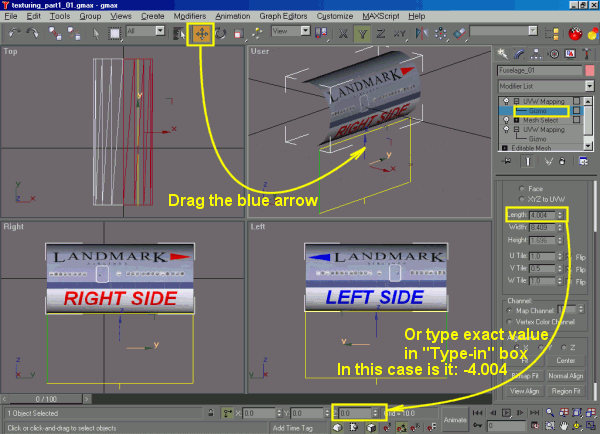
the UVW mapping "Gizmo"
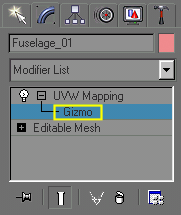
Click "+" at
UVW Mapping line in Modifier Stack and select sub-object called
"Gizmo".

Now you can move, rotate
or scale it, without affecting the part position, it will affect only texture.
So select "Rotate"
tool and rotate the gizmo.

You can rotate it by hand,
by clicking on desired axis and rotating it by mouse dragging.
If you want to do it precisely,
I recommend to set the "Angle snap"

( click on its button
to activate it and right-click on it, to set its parameters - e.g. 15 degrees
)
You can also rotate
desired object by typing exact value in "Transform Type-In" box on
status bar, or in the special panel, which you can display by right-clicking
on move, rotate or scale tool button.
So in our case we type
90 in "X" box.

Then click "Fit"
again, to stretch the texture to part's borders.

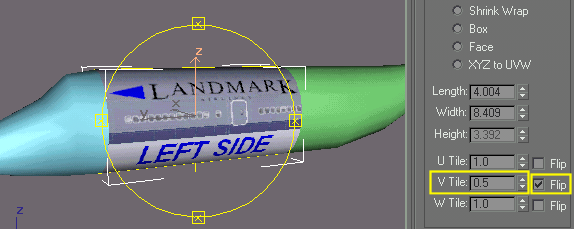
Now we would like to see
only the bottom half of our texture, so change the "V Tile" to
0.5,
and now it's OK.
We also need to "Flip"
direction in "U Tile"

Now you have your part
correctly textured.
But when you look at
the right side of your fuselage, you will see the same texture, which is
also mirrored. If your part is textured on both sides with the same mirrored
texture, you can stop here and start to texture another part.
But If you have
e.g. different logo or readable text on each side, we need to do something
more.
So follow the next step.
|
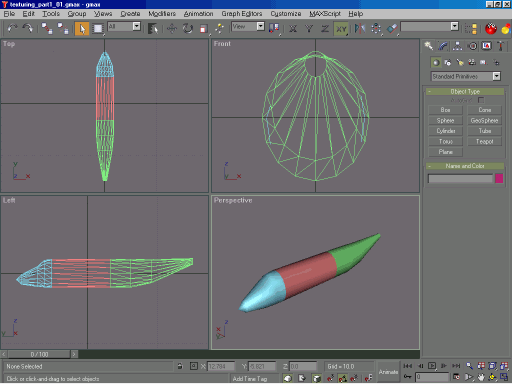
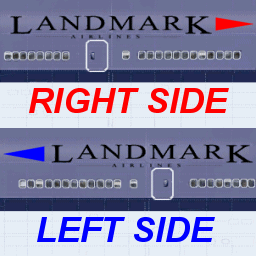 Textures like this ( stretched
to border, with different aspect ratio ) are used by many designers, in order
to simplify textures mapping in FSDS ( or older AF99 )
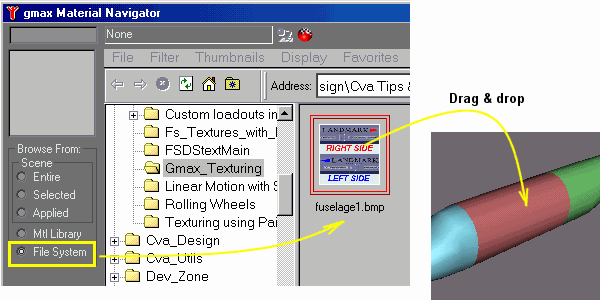


 If you look at "Parameters"
rollout, you can see, that there is "Planar" mapping checked.
